Having a clear projector picture when presenting is crucial.
Whether you’re giving a presentation for work, teaching in the classroom, or hosting a movie night with family and friends, blurry images can be distracting and cause people to lose interest quickly.
Luckily, by understanding some basic tips and tricks to optimizing your projector’s performance, you can make sure that your presentation or film looks perfect every time.
In this blog post we discuss everything from placement of the projector to adjusting focus so that you can get the clearest possible image – no matter what situation.
Clean the projector lens with a microfiber cloth
One of the easiest ways to ensure a clear picture is to make sure that your projector’s lens is clean. Dust and other debris can easily accumulate on the lens and cause a blurry or distorted image.
To prevent this, make sure you regularly wipe down the lens with a microfiber cloth. If there are any stubborn spots, gently dampen the cloth with a 50/50 water and isopropyl alcohol mixture to get rid of them.
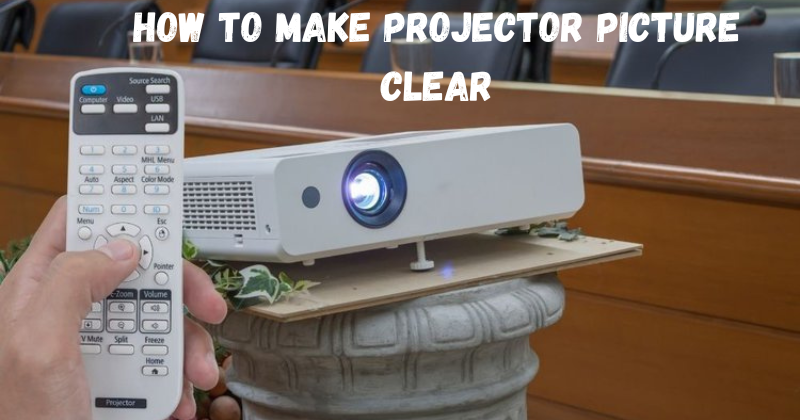
How To Make Projector Picture Clear
Here are the main tips to remember when trying to get a clearer projector picture:
- Place the projector at the right distance from the screen.
- Make sure that the projector is level and straight.
- Clean the lens with a microfiber cloth regularly.
- Adjust focus, zoom, and brightness settings as needed.
- Check for obstructions in front of the lens.
- Ensure that the projector is ventilated properly during use.
- Make sure all cables are connected properly and securely.
- Replace any faulty or damaged cables or components.
- Adjust the keystone setting to eliminate distortion.
These tips will help you get a crystal clear image every time – no matter what situation you’re in. With a bit of practice and know-how, you’ll be able to get the perfect projection every time.
Make sure the projector is in the correct spot
Positioning your projector correctly can make all the difference in getting a clear picture. If you’re using a ceiling mounted or wall mounted projector, be sure that it is straight and level with the center of the image.
Additionally, make sure that the projector is far enough away from the wall or screen to avoid distortion – typically this should be at least 3 feet away from the surface you are projecting onto.
Adjust focus settings
The next step in getting a clear projector picture is adjusting the focus settings. Most projectors have manual controls for focusing the image on the screen, but you can also use your remote control to do this.
Start by pressing the “Focus” button on your remote and then slowly turning the knob until you get a crisp image. If you don’t have a Focus button, just look for the “Picture” or “Menu” button and follow the instructions from there.
Check brightness and contrast settings
The next step is to check the brightness and contrast settings. If your projector picture looks faded or washed out, you may need to adjust the brightness level. To do this, look for the “Brightness” button on your remote control and press it. From there, you can use the up and down arrow buttons to adjust the levels until you get a clear image.
For contrast adjustments, you can use the “Contrast” button in a similar fashion to adjust the display until it looks its best.
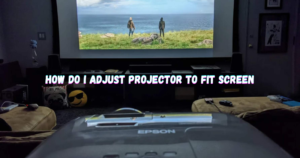
Adjust the zoom and focus of the projector
Another important setting to check is the zoom and focus of the projector. Most projectors have a zoom wheel on the side of the machine which can be used to adjust the image size.
If you find that your picture looks blurry or out-of-focus, use the “Focus” button on your remote control to make any necessary adjustments until your picture is crystal clear.
Check the projector’s lamp
Checking the projector’s lamp is also an important step in optimizing your projector’s performance. Over time, the bulb can start to dim and cause a hazy image on your screen.
If this happens, you may need to replace the bulb or contact your manufacturer for any required maintenance.
Place blackout curtains behind the projection surface to reduce ambient light in the room
Finally, if you’re having trouble getting a clear image due to ambient light in the room, consider placing blackout curtains behind the projection surface. This will not only reduce glare from external sources but it can also help make colors look brighter and sharper.
By following these tips and tricks, you’ll be sure to have a crystal clear projector picture every time you use it – no matter the situation. With these tricks, your presentations and movie nights will always look their best.
FAQs
Does the projector placement matter?
Yes! Projector placement can make a big difference in how clear your image looks. Make sure that you place the projector at least 3 feet away from the wall or screen and ensure that it is straight and level so that there is no distortion.
How do I adjust focus settings?
Focus settings can be adjusted by pressing the “Focus” button on your remote control and then slowly turning the knob until you get a crisp image. If you don’t have a Focus button, look for the “Picture” or “Menu” button and follow the instructions from there.
How do I reduce ambient light in the room?
The best way to reduce ambient light is to place blackout curtains behind the projection surface. This will not only reduce glare from external sources, but it can also make colors look brighter and sharper.
How often should I clean my projector lens?
We recommend cleaning your projector lens regularly with a soft microfiber cloth. If there are any stubborn spots, you can use a 50/50 water and isopropyl alcohol mixture to get rid of them. Wiping down the lens regularly will ensure that you always have a clear picture and prevent any dust or debris from accumulating on the lens.
Conclusion
Overall, creating a clear and vibrant image with your projector doesn’t have to be difficult or expensive.
By following the guidelines in this post, you now have the tools to make sure that your pictures look their very best.
Adjusting image brightness levels, replacing bulbs, and using the appropriate cables and settings will help create an attractive display that is sure to impress.
Regardless of whether you use your projector for home movies or in a professional setting, taking care of these steps is essential for ensuring a quality picture.
Don’t miss out the chance to get those perfect shots – remember How To Make Projector Picture Clear.