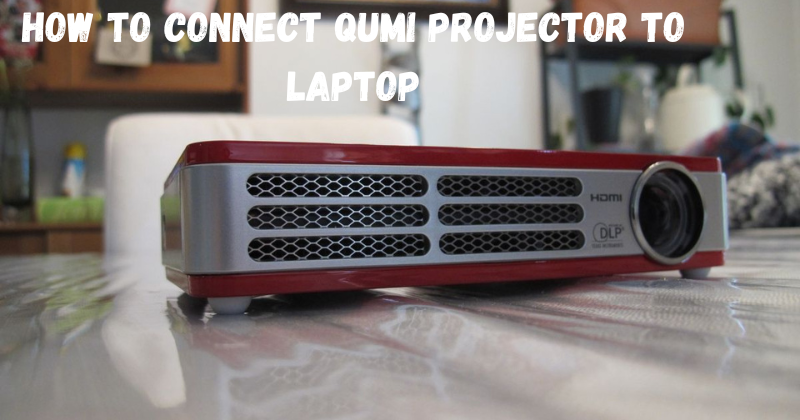
Do you need help understanding the complex technical instructions on connecting a Qumi projector to your laptop?
If so, don’t worry — we’re here to help! In this blog post, we will provide easy-to-follow steps that will allow you to successfully set up your projector and laptop connection.
From hardware setup requirements to content streaming tips, this guide has everything you need to quickly create an optimal viewing experience with your Qumi projector.
Prepare your equipment
The first and most important step is ensuring you have all the hardware and software requirements for a successful connection.
To connect your Qumi projector, you will need the following items:
- A laptop with an HDMI port
- An HDMI cable
- A USB cable (optional)
- Your Qumi projector’s power adapter
- Your projector’s remote control
Connect Qumi Projector To Laptop
There are the main ways to connect your Qumi projector to your laptop:
Connect the HDMI cable to the laptop and projector.
The first step to connect your projector is to plug the HDMI cable into the laptop and projector. Connect one end of the HDMI cable to the Projector’s port, then connect the other end to the laptop’s HDMI port.
Plus, ensure to secure the connections by tightening the screws at each port’s sides.
Connect the USB cable (optional)
If you would like to connect a USB keyboard or mouse to your projector, you can use a USB cable. Plug one end of the USB cable into your laptop and plug the other into your projector’s USB port.
Turn on the projector and laptop.
The next step is to turn on your laptop and projector. When you power up the projector, the onboard LED lights flash thrice before turning off. At this time, press the “Source” button on your remote control to select the HDMI port as the input source.
Once both devices are turned on, you should see an image from your laptop display on the projector.
Select ‘Qumi Projector’ from the list of display options.
After Connecting your projector and laptop, you must select the “Qumi Projector” option from the list of display options on your laptop.
On Windows 10 computers, open up the Settings App and go to “System” > “Display.” You should see the Qumi projector listed as an available display device from here. Select it from the list of displays and then click “Apply” to save the change.
Plus, adjust the display settings, such as brightness and contrast, until you get an image that looks right.
Finally, adjust the projector image.
The final step is to adjust the projector image as desired to fit the screen size. You can do this by using the buttons on your remote control that are labeled “Size,” “I/O,” and “Position”. Use these buttons to adjust the size of your image until it fits properly within the boundaries of your projector screen.
Once you have adjusted the image to your liking, your connection is complete, and you are ready to start streaming content! Just sit back and enjoy your media on a large projected display.
Settings for best image quality
Here are the settings you should use for the best viewing experience with your Qumi projector:
- Set the brightness to 75% and contrast to 95%.
- Set the colors to “Vivid” mode.
- Adjust the zoom setting until you get a clear, crisp image.
- Make sure that sound is enabled on both devices.
Troubleshooting Tips
If you are having difficulty establishing a connection between your laptop and projector, here are some troubleshooting tips:
- Make sure that all of the cables and adapters are securely connected.
- Press the “Source” button on the remote control to check if the projector is turned on.
- Ensure the laptop is set to “Extended” or “Duplicate” mode.
- Unplug and re-plug all of the cables.
- Check if there are any driver updates available for your projector.
Enjoy watching your videos or presentations with ease!
The last step is to enjoy watching your videos or presenting with ease! With the proper setup of your Qumi projector and laptop connection, you should get an optimal viewing experience.
Whether streaming a movie or giving a presentation, you can now do all this without hassle.
By following these simple steps, you can now easily and quickly set up your Qumi projector for optimal use with your laptop. Have fun streaming content or giving presentations without any technical difficulties!
Connecting your Qumi projector to your laptop with the right equipment and setup is a breeze. So go ahead and enjoy everything that this wonderful technology has to offer.
FAQs
Does USB to HDMI work for a projector?
You can connect your laptop to a projector using a USB to HDMI adapter. This is an easy solution for connecting your laptop to a projector if it does not have an available HDMI port. However, remember that this will only work with older versions of Windows.
What cable connects the laptop to the projector?
An HDMI cable is the most common cable used to connect a laptop to a projector. This cable type provides the best signal when connecting your laptop to a projector. However, you can also use VGA or DVI cables for this purpose.
Can I project my laptop screen wirelessly?
Yes, it is possible to project your laptop screen wirelessly with the right equipment. You only need a wireless projector adapter like the Qumi Wireless Display Adapter and an available Wi-Fi connection. Then, connect the adapter to your projector and follow the setup instructions. With this device, you can now easily share your laptop’s content without cables or wires!
Conclusion
With all of the above steps completed, you are now ready to start making your unique presentations with the exceptional quality of a Qumi projector.
Whether used for professional meetings or a creative presentation at home, it’s easy to get started with this exciting technology.
You only need a laptop, an HDMI cable, and a projector. Don’t be intimidated by your lack of technical know-how – the steps detailed here are simple.