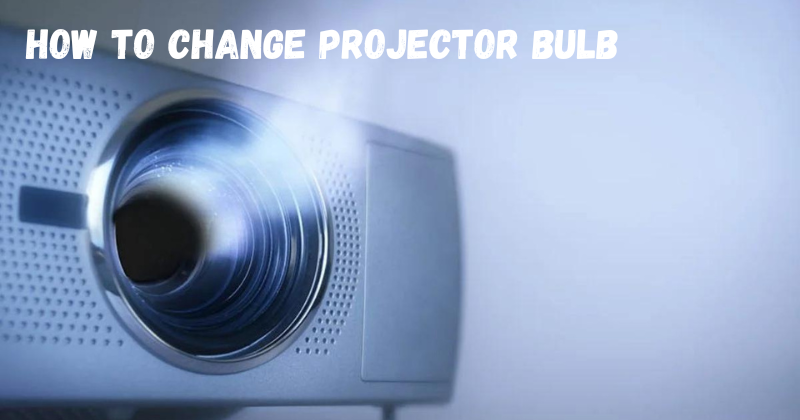
Are you looking for a quick and simple way to change your projector bulb? If so, you’ve come to the right place.
In this blog post, we will discuss what steps are involved in changing a projector bulb as well as key tips and tricks for making sure it is done properly.
Whether you’re new to using projectors or an experienced user, these tips will help ensure that your projector stays up-and-running smoothly with minimal effort.
Safety Preamble
Before we begin, it is important to understand the safety implications of changing a projector bulb.
When replacing a projector bulb, always ensure that the projector is unplugged from the power outlet and allowed to sit for at least 10 minutes before attempting to replace the bulb.
This will allow any built-up heat or electricity to dissipate and will greatly reduce the risk of electric shock or injury during the replacement process.
Also, never touch the bulb with your bare hands as this could cause damage to the bulb or create a fire hazard.
Additionally, if you are working with a projector that is still under warranty, check with the manufacturer prior to attempting any repairs as doing so may void your warranty.
Change Projector Bulb
These are the steps involved in changing a projector bulb. Also, don’t forget the safety preamble at the beginning of this article.
Unplug Your Projector
The first and most important step prior to replacing a projector bulb is to unplug your projector from the power outlet.
This will ensure that you don’t get shocked while handling the bulb and also reduce the risk of electric shock or injury during the replacement process.
Also, leave the projector disconnected for at least 10 minutes to allow any built-up heat or electricity to dissipate.
Remove The Existing Bulb
Once you have unplugged the projector and allowed it to cool down, you can begin replacing the bulb.
Most projectors have a single screw located on the base of the unit which is used to loosen and remove the existing bulb.
Gently unscrew the screw until you can easily access the bulb and carefully pull it out of its housing.
Install The New Bulb
Once you have removed the old bulb, it’s time to install a new one.
Most projector bulbs will come with installation instructions, so be sure to follow these for best results.
If no instructions are included, generally speaking you will want to insert the new bulb into its housing and gently tighten the single screw on the base of the unit.
Make sure not to overtighten as this could cause damage to the bulb or create a fire hazard.
Reattach the Lamp Cover and Put It Back Together
Once you’ve installed the new bulb, it’s time to put everything back together.
Reattach the lamp cover and any other components that were removed during installation.
Finally, plug your projector back into the power outlet and turn it on to ensure it is working properly.
Plus, don’t forget to check the operation manual for any additional instructions about lamp replacement.
Clean the inner surface of the projector
Before you plug your projector back in, it is important to clean the inner surface of the unit.
This will help reduce any dust or debris which could interfere with the performance of your projector.
Using a soft cloth and some mild cleaning solution, carefully wipe down the interior surfaces of your projector to remove any dirt or grime.
Test the projector
Once you have installed a new bulb and cleaned the interior surfaces of your projector, it is time to test it out.
Plug your projector back in to the power outlet and turn it on. Make sure to keep an eye out for any signs of flickering or dimming as this could indicate that something isn’t functioning properly.
If everything looks good, you are all set! With a few simple steps, you now know how to change a projector bulb and maintain your projector for optimal performance.
Tips for a Long-Lasting Bulb
To get the most out of your projector bulb and ensure it has a long life, follow these tips:
- Make sure to use the correct wattage bulb for your projector.
- Avoid extreme temperatures or direct sunlight when using your projector.
- Clean the interior surfaces of your projector regularly with a mild cleaning solution.
- Follow all manufacturer instructions for replacing the bulb.
- Allow your projector to cool down prior to handling any components.
- Store extra bulbs in a dry and cool place.
- Check regularly for signs of flickering or dimming which may indicate a problem with your projector bulb.
- Don’t forget to check the operation manual for any additional instructions about lamp replacement.
By following the above tips, you can ensure that your projector bulb has a long life and optimal performance.
Troubleshooting
If you’re having trouble changing your projector bulb, there are a few steps you can take.
First, double check that you are using the correct wattage bulb for your projector. If the wattage is too high or too low, it could cause problems with your projector.
Next, make sure to follow all of the manufacturer instructions for changing the bulb. This will ensure that you don’t accidentally damage any components or create a fire hazard.
Finally, if all else fails, contact the manufacturer or an authorized service technician to help with the issue.
By following these tips, you can easily change your projector bulb and get back up-and-running quickly and safely.
FAQs
What to do after replacing the projector bulb?
After replacing a projector bulb, you should test it out by plugging your projector back in to the power outlet and turning it on. Make sure to keep an eye out for any signs of flickering or dimming as this could indicate that something isn’t functioning properly.
Additionally, remember to clean the interior surfaces of your projector regularly with mild cleaning solution. This will help reduce any dust or debris which could interfere with the performance of your projector.
How Long Do Projector Bulbs Last?
The life expectancy of a projector bulb can vary depending on how often it is used and the wattage of the bulb. Generally speaking, an average projector bulb should last somewhere between 3000 to 5000 hours.
Can we use an LED bulb in a projector?
Yes, LED bulbs can be used in projectors. However, it is important to make sure that the wattage of the LED bulb matches the wattage of your projector’s original bulb. Additionally, most LED bulbs require special installation instructions so be sure to follow those for best results.
Conclusion
Knowing how to change a projector bulb is important for any tech-savvy person, especially if they often make presentations with a projector.
Replacing an old projector bulb for a new one can help you avoid any technical issues when hosting or attending meetings.
Taking the time to check and understand your projector’s bulb specifications (e.g. wattage, type, and lifespan) will ensure that you have the right product when it comes time to replace it.
Furthermore, understanding how to safely remove and install each component of a projector helps you complete the job safely.